Why Does My Electric Scooter Charger Stays Green?
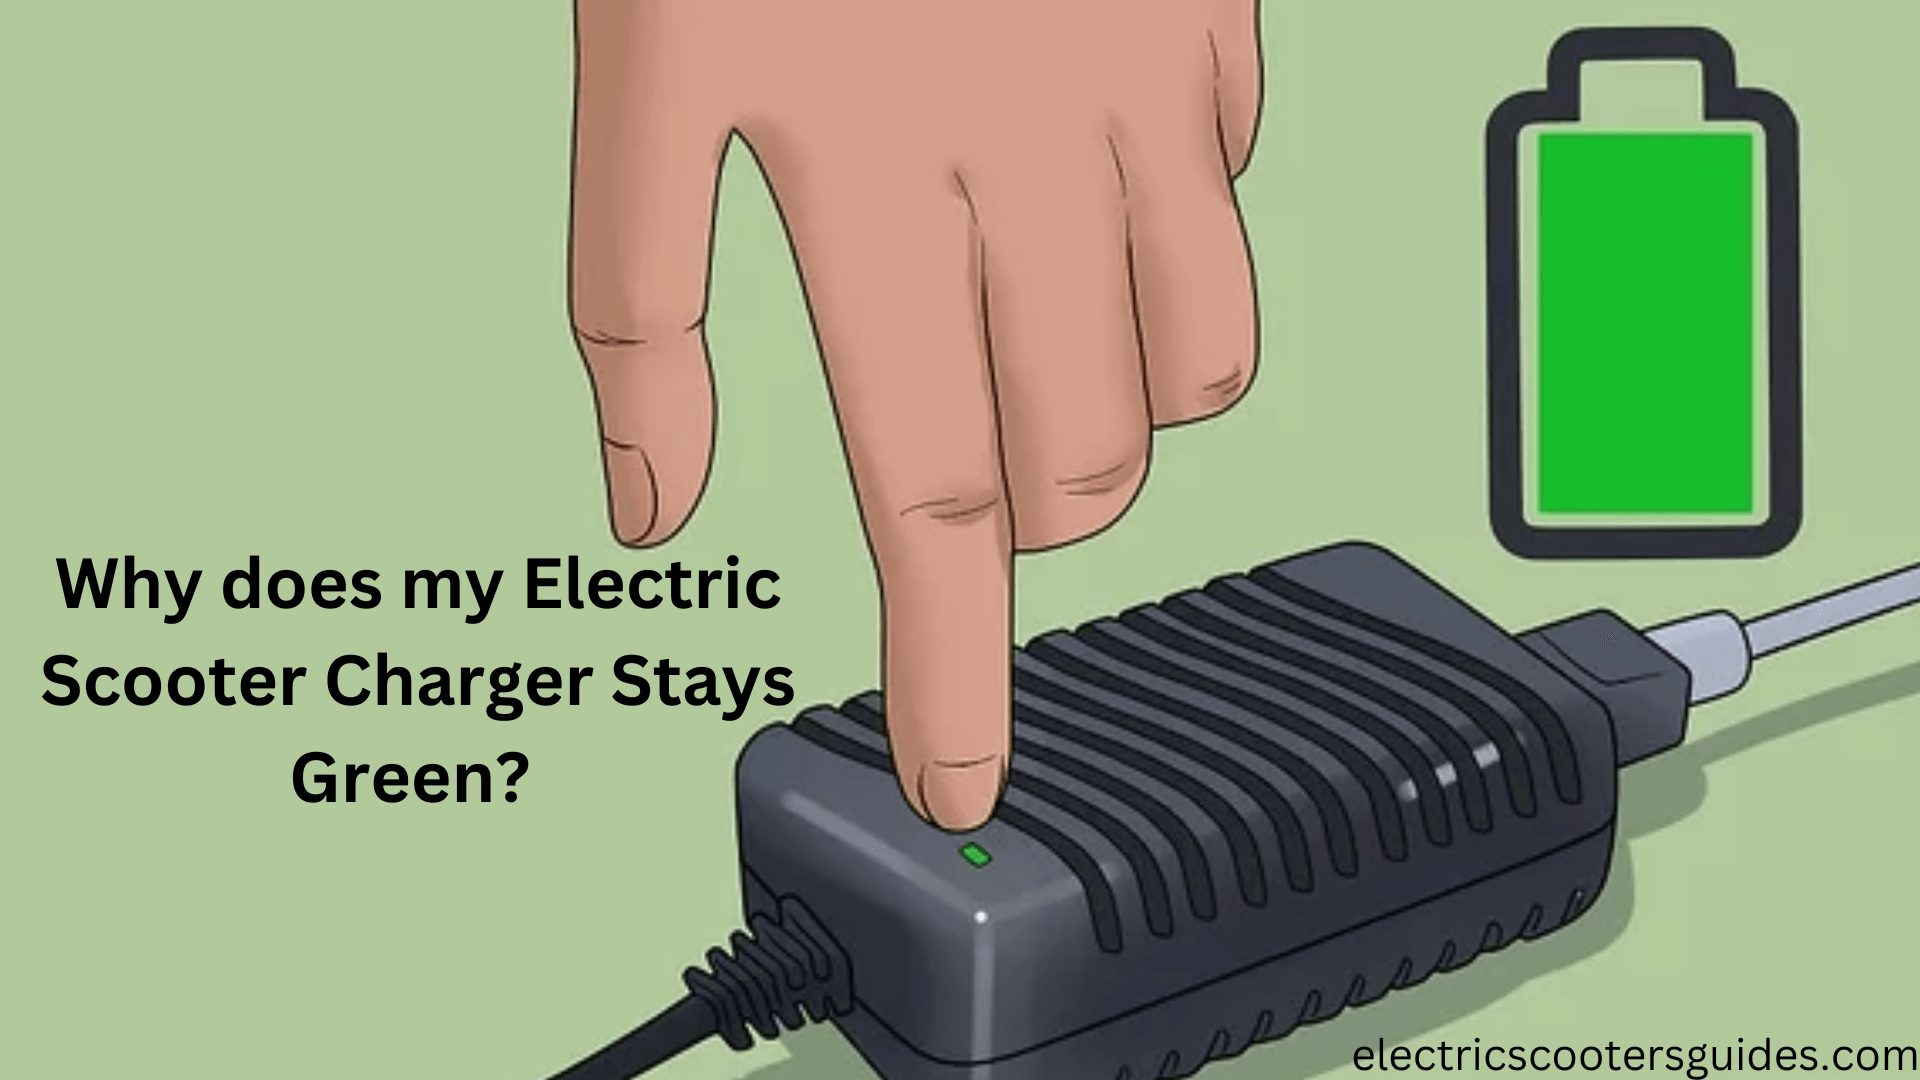
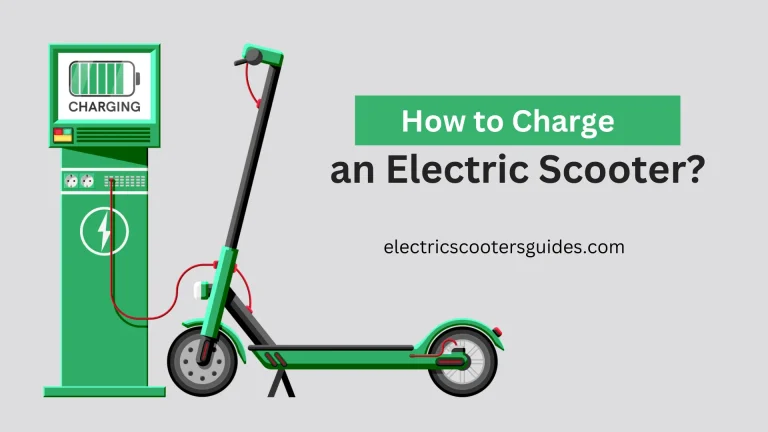
One of the most frustrating issues you might face with an electric scooter is when you can’t charge the battery. There could be various reasons behind this problem, making it quite tricky to pinpoint.
Today, we’re going to talk about one common reason why your battery might not be charging properly: when the charger light is green but the battery isn’t charging up.
The silver lining here is that charger problems are generally straightforward to fix. Sometimes, it’s just a matter of replacing certain parts of the charger, or in some cases, you might need to get a whole new charger.
Now, let’s dive into how to tackle this issue step by step.
Why does my Electric Scooter Charger stays green?
Why does your electric scooter charger stay green? There are several possible reasons behind this common issue. Let’s break them down into five main causes:
Scooter Not Plugged Correctly
Often, a simple oversight occurs when the scooter isn’t plugged in correctly. Ensure the following steps are followed:
- Switch off your scooter before connecting it to the power source.
- Check the charging port for any obstructions or debris.
- Firmly plug in the charger and ensure it’s securely connected.
- Inspect the charger’s plug and the wall socket for damage or obstructions.
Charger’s Internal Components Damaged
Internal damage to the charger’s components can disrupt the charging process. Testing the charger’s voltage output using a multimeter can help diagnose this issue. Tips to consider:
- Always handle the charger gently to prevent damage.
- Use the correct charger compatible with your electric scooter.
- Prevent the charger from being exposed to very hot or cold temperatures, as well as moisture.
- Unplug the charger once your scooter is fully charged to prevent wear and tear on components.
Damaged Wall/Power Socket
Damage to the wall or power socket can hinder the flow of electricity to the charger. Steps to address this issue include:
- Inspect the socket for signs of damage or wear.
- Try plugging the charger into a different socket to rule out socket-related issues.
- Avoid overloading sockets and ensure plugs are inserted and removed carefully.
Positive and Negative Cables in Contact
When the positive and negative cables touch, it can cause a short circuit. To fix this:
- Ensure cables are kept separate and not exposed.
- Replace damaged cables or use electrical tape to insulate exposed parts.
- Regularly inspect cables for signs of wear and handle them with care.
Battery Fuse Damaged
A damaged battery fuse can prevent proper charging, leading to a persistently green light. Solutions include:
- Ensure you’re using the correct charger for your scooter.
- Replace the damaged fuse by accessing the scooter’s deck or seek assistance from the manufacturer.
Battery Issue (BMS):
The Battery Management System (BMS) oversees the battery’s charging process. Steps to address BMS-related issues:
- Inspect the battery for visible damage or loose connections.
- Unplug the charger once the battery is fully charged to prevent damage to the BMS.
- Occasionally unplug the battery to reset the BMS and recalibrate its readings.
Seek Professional Help:
If the issue persists, don’t hesitate to seek assistance from a professional or the manufacturer. They possess the expertise to diagnose and resolve the problem effectively.
Addressing these issues step by step can help diagnose and resolve why your electric scooter charger stays green, ensuring you get back to riding smoothly. You should also know how to adjust electric scooter brakes.
Why Does the Olight Charger Stays Green?
Understanding why your Olight charger stays green is essential for efficient and safe charging. Here’s a breakdown of possible reasons and steps to address them:
The Olight charger features an indicator light that turns green when the battery reaches full charge. Additionally, you can gauge the battery’s charge level by pressing the button on the side of the battery, revealing the remaining charge through indicators.
Before using the Olight charger, it’s crucial to carefully follow the provided instructions. This ensures proper usage and prevents potential issues during charging.
Red Light Indicates Power Issue
If the light on the charger turns red instead of green, it signals that the battery isn’t receiving power correctly. In such cases, take the following steps:
- Remove the battery from the charger and inspect the connections.
- Ensure the charger is correctly connected to the power source, and the battery is inserted properly.
Persistent Red Light
If the charger’s light continues to stay red despite checking connections, it suggests a potential issue with the battery itself. Here’s what you can do:
- Verify that the charger is compatible with your Olight battery model.
- Consider replacing the battery if it’s damaged or malfunctioning.
By adhering to these guidelines and troubleshooting steps, you can ensure optimal performance from your Olight charger and battery, keeping your devices powered when you need them most.
Why Does Li-Ion Battery Charger Green Light?
Understanding why the green light on your Li-ion battery charger behaves the way it does is key to ensuring your device is charging safely and efficiently. Here’s a closer look at the significance of the green light and what to do if it starts blinking:
A steady green light on your Li-ion battery charger indicates that everything is in order. It signifies that the charger is functioning correctly and is ready to charge your battery without any issues.
However, if you notice the green light blinking, it’s a sign that something isn’t quite right. This typically points to a problem with the charger rather than the battery itself. The blinking light could indicate a faulty connection or issues with the charger’s power supply circuitry.
Troubleshooting Steps:
If you encounter a blinking green light, here’s what you should do:
- Immediately unplug the charger from both the outlet and your device.
- Check that both ends of the power cord are securely plugged in. If the cord is loose or damaged, replace it with a new one.
- After ensuring the connections are secure, plug the charger back in and observe if the green light continues to blink.
Seeking Resolution:
If the green light persists in blinking even after checking the connections, it likely indicates a deeper issue with the charger’s voltage or internal components. In such cases, it’s advisable to replace the charger to avoid potential damage to your battery or device.
By understanding the significance of the green light on your Li-ion battery charger and taking appropriate action when it behaves unexpectedly, you can ensure safe and reliable charging for your devices.
Conclusion
In conclusion, understanding why your electric scooter charger stays green is crucial for maintaining its proper function. If you encounter this issue, promptly addressing potential causes like faulty connections or charger damage can ensure safe and efficient charging for your scooter. By taking proactive steps to troubleshoot and resolve any issues, you can keep your electric scooter powered up and ready for your next ride.

